1 cup butter, softened
1 cup sugar
1 cup brown sugar
2 eggs, lightly beaten
1 1/2 teaspoons vanilla
2 cups flour
1 tsp baking soda
1 tsp salt
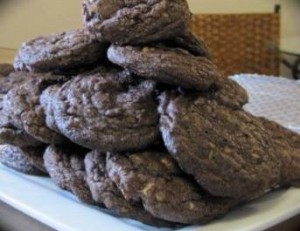
1/3 cup cocoa
1 tsp cinnamon
1/2 tsp chili powder
3 cups chocolate chips: milk, dark, white combo
1 cup chopped nuts (if your family will allow it!)
3/4 cup raisins (if you add these your cookie will taste like a Cadbury Fruit and Nut Bar!)Preheat oven to 375F.
Lightly spray baking sheets with vegetable oil spray.
In small bowl, whisk together to thoroughly combine all dry ingredients. Set aside.
In medium mixing bowl, using electric mixer cream butter and sugar and brown sugar.
Add eggs, one at a time, mixing well after each addition.
Add vanilla and continue mixing for another minute or two.
If using a Kitchenaid mixer, gradually add in dry ingredients. If using hand held mixer, abandon it now and stir dry ingredients in with a wooden spoon.
Stir in chocolate chips.
Using a #2 Pampered Chef scoop, portion cookie dough and place on prepared baking tray leaving enough room for each cookie to spread. If you don’t have a #2 scoop, roll cookie dough into walnut sized balls and place on baking tray; slightly flatten each ball with your finger.
Bake in 375F oven for 5 minutes, rotate baking trays and continue baking for another 4 to 5 minutes.
Remove from oven and transfer cookies to cooling racks to cool completely.
Go on, pour a glass of milk and eat a few straight outta the oven!
Guaranteed these to be addictive when cool!
Enjoy!
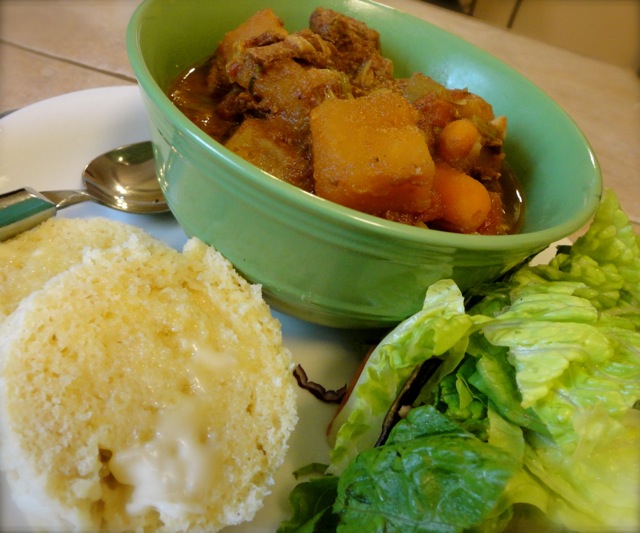
After not getting dinner on the table until 8:30 pm Monday night I decided to take another tack for today; I took meat out of the freezer last night, defrosted it then threw together a Beef Stew in the Crockpot at 6 am this morn….voila! Dinner on the table with zero effort on my part at the time of day when I am at my worst!
Stewing Beef
Can of Tomatoes
1 1/2 cans of Water
half a can of Tomato Paste because I used half a can the night before making Pizza Sauce
1 Turnip, cut into chunks
handful of mini carrots
2 Leeks, coz I had them in the fridge
3 stalks of Celery, cut into chunky bits
A bit of Thyme
A bit of Sage
3 Bay Leaves
Some Paprika
Salt and Pepper
1 McCormicks Beef Boullion cube
A splash of Worcestershire sauce
Turned the slow cooker onto high heat, left it going all day long, came home at 3 45, took the lid off, left it on high heat to let it cook down a bit while Luke and I took Bear for a walk.
Served it up with a MIM (Muffin in a Minute) and a Salad.
Jamie, over on Your Lighter Side posted a link to a low carb pizza crust ages ago which I had been meaning to try but never got around to it. It seemed to labour intensive for the amount of energy I have at the moment (zilch!!) so I kept putting it off. When I got home from work today I did the unthinkable…I had me a lil lay down!!! I think I may have even closed my eyes!
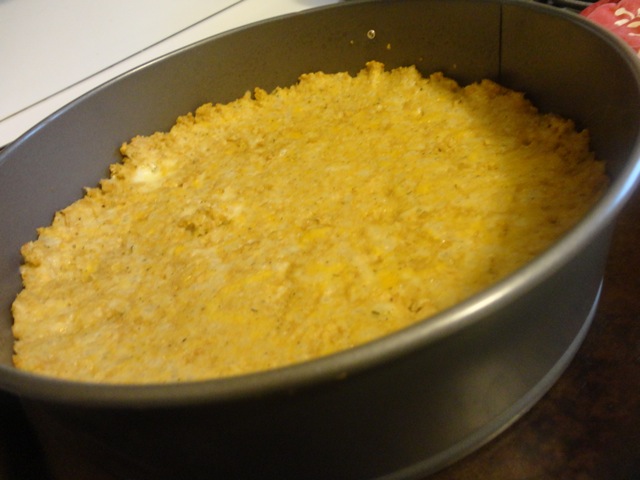
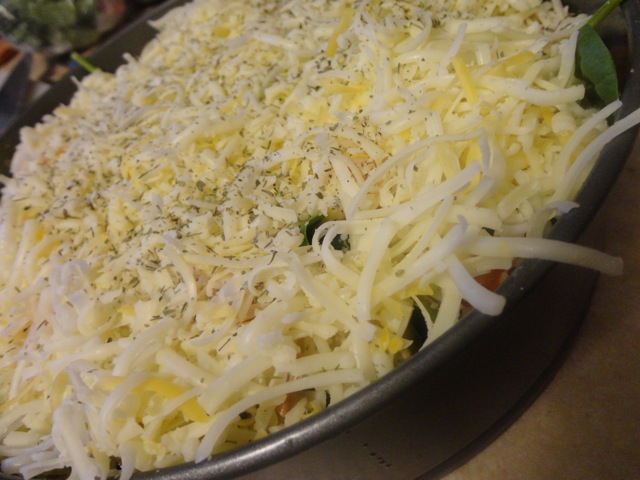
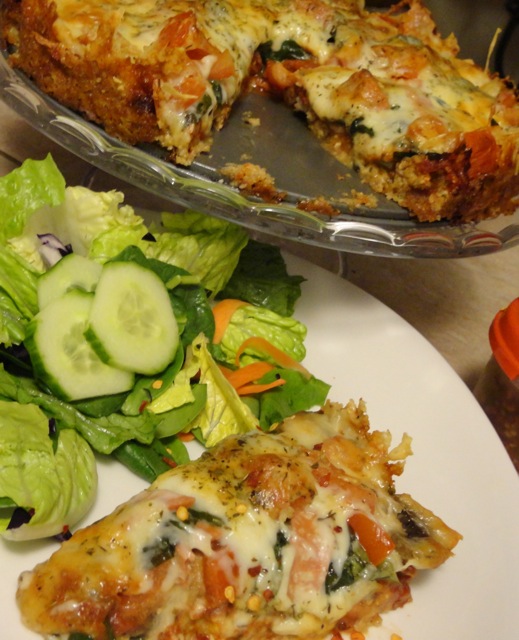
Rejuvenated, tonight had to be the night to finally make that pizza! I had the energy and the ingredients and besides, I was craving pizza! Now normally one would make this with meat but, like I said, _ I _ was craving pizza, so that means no meat was going to be on this culinary delight. I used Yves Ground Chicken in place of the meat and I had a gazillion different cheeses hanging out in the fridge so I pulled out Oscar Senior and got to work shredding cheeses: Cheddar, Monterey Jack and Mozzarella. I dumped the cheeses into a bowl and loaded the “chicken” into the processor, ground it up a bit, added the cheese and mixed the two together; I then pressed the mixture into a lightly oiled 9″springform pan, popped it into the oven for 18 – 20 minutes.
After baking for 18 – 20 mins, I pulled the crust out of the oven and let it cool while I was making a salad.
Next I spread about 2 ounces of Tomato Paste on the cooled crust, sprinkled generously with Italian Seasoning and a bit of garlic powder.
Then came the toppings:
Mushrooms, sliced
Tomatoes, diced
Green Pepper, diced
Spinach
Yves Ham Slices, cut into strips
Lotsa mozza!
Some more Italian Seasoning
Put it into the 375F oven for 18 minutes, turned the heat up to 425F and continued baking for another 8 minutes.
Pulled it out of the oven, let it set for about 10 minutes while I finished cleaning up all my prep dishes.
Served it up with a salad.
A recipe for Bannock? Some flour, add some baking powder, a bit of salt, a smidgen of sugar, warm water to make a gooey mess! Have fun with that!
2 cups Flour (sometimes I use half whole wheat flour, half white flour)
4 teaspoons Baking Powder
1 teaspoon Salt
1 Tablespoon Sugar
Enough warm water to make a soft dough
1 cup Vegetable Oil, for frying
In medium mixing bowl, combine flour, baking powder, salt and sugar.
Using a fork, stir in enough warm water to make a soft dough; start with about a 1/2 cup of water, stir, add a bit of water, stir.
Continue adding water a little at a time until you achieve the right consistency.
Heat about 1 cup of vegetable oil over high heat; drop a bit of dough in the hot oil, if it sizzles and floats to the top of the oil, it is ready to go.
While the oil is heating you can start forming your bannock; you can cook up to four bannock in the pan at one time.
Using a fork, scoop out about 1/4 cup of dough and drop it into a mound of flour.
With lightly floured hands, pick it up and gently toss it between your hands to lightly coat with flour and start shaping.
Place the dough on a very lightly floured surface and gently flatten to about 1/4inch thick.
Carefully place in hot oil, cook until golden.
Flip and cook for another minute.
Remove from oil to paper towel lined platter.
Continue this procedure with the remaining dough.
When you are first starting to make Bannock, I recommend you have a partner in crime to give you a hand; one person can form the bannock and the other person can cook it. Heaps less stressful!
Enjoy your bannock!
Oh, and there are a gazillion and nine Bannock recipes and methods of cooking bannock…this is just how I was taught to make it.
PS…making Bannock is messy work! But well worth it!
So Mother Hubbard’s Cupboards are still a bit on the bare side and coming up with a meal is getting to be a bit challenging! To add to that, whatever I do make? It needs to be Low Carb. Now you have to understand that prior to January 31, 2012 I just cooked whatever I wanted: pasta, rice, potatoes…oh, Potato Soup and Bannock! Home made Mac and Cheese! Spanish Rice with Enchiladas…Burritos and Mexi Fries! Carbs were not so much an issue but expanding waist lines were beginning to be.
I digress. But the point remains that I can cook up a high carb meal pretty easily because I still have heaps of ingredients in the cupboards and freezer. And low carb is a whole new way of thinking for me too. I can no longer just think about what to make for dinner and head to the kitchen, thought processes ticking; now I rely on a recipe of some sort even if it just to follow basic guidelines.
Alright, so last night as I lay in bed I began thinking about what I was going to cook for dinner tonight (because that is how it works when the cupboards are bare and I am changing the way I cook) so I borrowed my iPad from my husband and started scanning for a low carb recipe using 1.5lbs of shrimp, because I had that in the freezer, and came across Jennifer Eloff’s Curried Shrimp recipe; as I read the recipe and each ingredient got a “Yup, got that” I was relieved to have part of the meal prepared. I had a look at Jennifer Eloff’s Mock Rice but didn’t like the looks of it alongside my lovely Curried Shrimp. I recalled seeing numerous posts about Jamie’s Mock Rice on Your Lighter Side and hopped over to Jamie’s recipe for Mock Fried Rice. The perfect accompaniment to the Curried Shrimp!
1.5 lbs Large Frozen Shrimp, pre-cooked
1 Tablespoon Olive Oil
1 medium Onion, chopped
2 cloves Garlic, minced
1 1/2 Tablespoons Curry Powder
1/2 teaspoon Salt
Dash of Pepper
1 teaspoon ground Cumin
1/2 teaspoon Chili Flakes
3/4 cup Coconut Milk
In colander thaw frozen shrimp under cold running water and drain completely; set aside.
In a saucepan heat oil over med-high heat and add onion, cooking until slightly softened; add garlic and continue cooking until onion is soft and translucent.
Stir in curry powder, ground cumin, chili flakes and salt and pepper.
Gradually add coconut milk, stirring constantly.
Bring to a boil, stirring often.
Add shrimp, continue stirring and cook until heated through.
Serves 4 – 6
1 large head Cauliflower
2 cups Water
2 Tablespoons Olive Oil
1 teaspoon Onion Powder
Salt and Pepper, to taste
Cook whole, large cauliflower in a pot with a tight fitting lid; bring to boil, reduce heat to med-high and continue cooking for about 10 minutes.
Remove from heat, drain and cover cauliflower with cold water; drain that off, repeat.
Fill pot again with cold water and let sit while preparing the Curry Sauce.
Once sauce is simmering (do not add the shrimp until 5 minutes before ready to serve.) come back to the cauliflower.
Drain cauliflower.
Cut into chunks that will fit into the feeder tube of your food processor.
With the grating attachment, put cauliflower through the processor.
Once all the cauliflower is processed, heat olive oil in a large pan over high – medium heat and add half the cauliflower.
Season with half the onion powder, some salt and pepper and cook for 6 – 8 minutes, stirring often.
Plate, the repeat with the second half of the cauliflower.
Serves 6
Welcome to my Kitchen where the most important ingredient is Love.