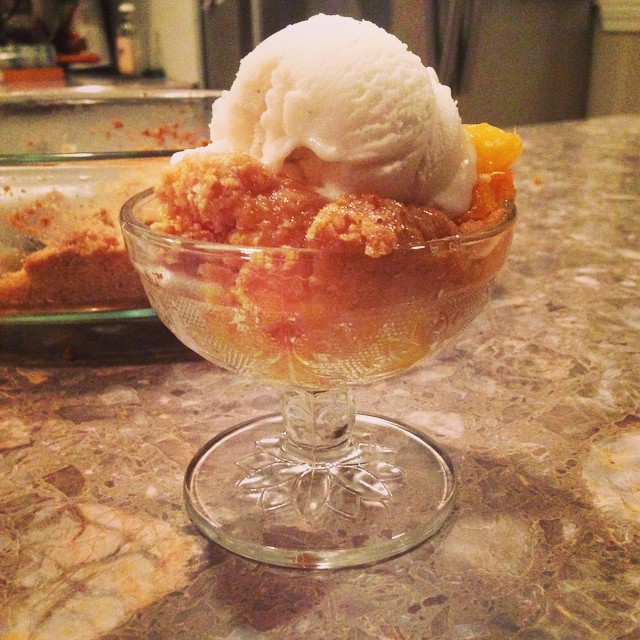
Recipe for this Peach Crisp was adapted from my Apple Crisp Recipe; simply subbed in Peaches for the Apples…okay, truth be told? I doubled the Crisp mixture! What can I say? I love that stuff!
The link to my Apple Crisp:
http://aysontespli.ca/?p=453
I had the grandsons over for the weekend and well, there is a sign in my kitchen that says ” A Grandmother Never Runs Out of Hugs or Cookies” and I had made a deal with the boys that if Granny’s TARDIS cookie jar was ever empty, I owed them $5! On the morning of their arrival I whipped up a batch of Welsh Cakes which quickly filled the TARDIS but they just as quickly demolished them!
Now normally I don’t have a problem keeping cookies in the TARDIS but seems Mother Hubbard’s cupboards were pretty low on this particular weekend …therefore no eggs to bake with. ( I subbed in Egg Replacer in the Welsh Cakes)
I did have a bunch of carrots that needed using up so I googled Egg Free Carrot Cake which resulted in this Ingredients Only list over at TheAnswerIsCake. When I tried to follow the link to the full recipe I came upon a broken link…hate broken links! S’all good, I know how to bake a cake…
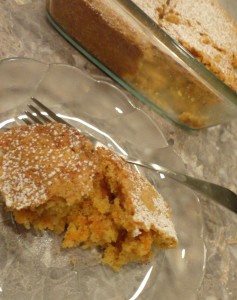
Everyone loved the Carrot Cake! I don’t think anyone even noticed the lack of eggs and no one complained that it was not sporting the regular Cream Cheese Frosting they all expect on Carrot Cake; I didn’t think an Egg Free Carrot Cake should be “contaminated” with a dairy product topping so I just gave it a light dusting of icing sugar. Yum!
1/2 cup Margarine
1/4 cup Brown Sugar
3/4 cup Sugar
1 teaspoon Vanilla
1 cup Grated Carrots
1 1/4 cups Flour
1 1/2 teaspoon Baking Powder
1/2 teaspoon Salt
1 teaspoon Cinnamon
1/4 cup Almond or Soy Milk
1 cup chopped Nuts, Pecans or Walnuts
2/3 cup Coconut
Preheat oven to 350F.
Lightly spray a 9Inch Square baking dish with vegetable oil spray; coat lightly with flour, tapping out excess flour.
In a small mixing bowl combine flour, baking powder, salt and cinnamon; set aside.
In mixing bowl cream together margarine, brown sugar, sugar and vanilla; beat for a minute.
Stir in grated carrots.
Stir in half the dry ingredients followed by the almond milk.
Add remaining dry ingredients, stir, increase speed to beat for another minute.
Fold in chopped nuts and coconut.
Turn batter out into prepared pan and bake in 350F. oven for 25 – 30 minutes or until pick inserted comes out clean.
Place on wire rack and cool for 10 minutes before turning out of pan to cool completely on wire rack.
Dust lightly with icing sugar and serve.
Yield: 16 Servings
Oh my!! This recipe for Apple Pie Enchiladas came through my Facebook page the other day and I declared then and there that I would make these ASAP! Alright, it has been a few days since I saw the post but so many other yummy recipes came through the feed that it was hard to choose when to make what….and, well, Mains come before Dessert, right? Even though my belief is, “Life is Short, Eat Dessert First!”
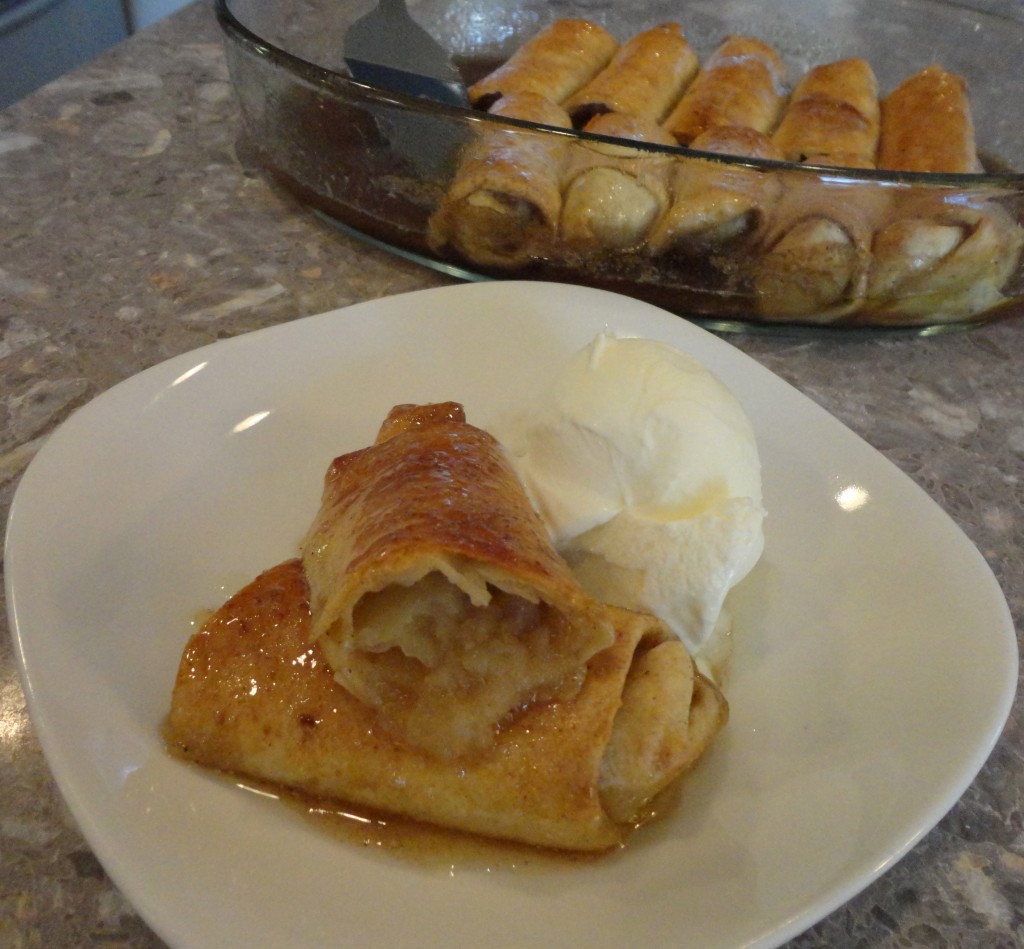
1 21 (oz) can Apple Pie Filling or Home made Applesauce
6 (8 inch) Flour Tortillas
1/2 cup Butter
1/2 cup Sugar
1/2 cup Brown Sugar
1/4 cup Water
1 teaspoon Vanilla
1 teaspoon Apple Pie Spice
or 1 tsp Ground Cinnamon, 1/4 tsp each ground Cloves, Nutmeg, Ginger
Lightly spray an 9″x13″ casserole dish with vegetable oil spray.
Spoon about 1/4 cup apple pie filling evenly down the centre of each tortilla.
Roll up, tucking in edges, Burrito-style, and place seam side down in prepared baking dish.
In medium saucepan over medium heat, combine butter, sugar, brown sugar and water.
Bring to a boil, stirring constantly; reduce heat and simmer for 3 – 5 minutes.
Remove from heat; stir in vanilla and apple pie spice.
Pour sauce over enchiladas and let stand for 45 minutes; this is an important step, don’t rush it.
Bake in preheated 350F oven for 30 minutes or until golden brown.
Yield: 6
Like I said, this recipe came through my Facebook page but what an Apple Pie Enchilada recipe is doing on what appears to be a weight watchers page is beyond me?
My freezer is chockers with an abundance of summer fruits! I squeezed in a bag of pears prepped for jamming today but still had more pears left over than we are able to eat in a week. I just made Apple Crisp the other day so Pear Crisp was out of the question. Hmmm? What to do with these pears? Oh! A Cobbler! I know it is practically the same as a Crisp but just different enough to make it seem like I wasn’t making the same thing twice in a matter of days.
While my Pear Jam was jamming, I headed over to Canadian Living.com to search out a recipe for Pear Cobbler and was not disappointed. Time was of the essence as I was in the zone and the jam only needed to jam for another 50 minutes. This cobbler was quick and easy to throw together; my one remorse was that I didn’t put my baking dish on a cookie sheet….now I have to clean my oven…again!
Oh, and I love how Canadian Living introduced the recipe…”Harvest an orchardful of flavour with this old-fashioned cobbler.”
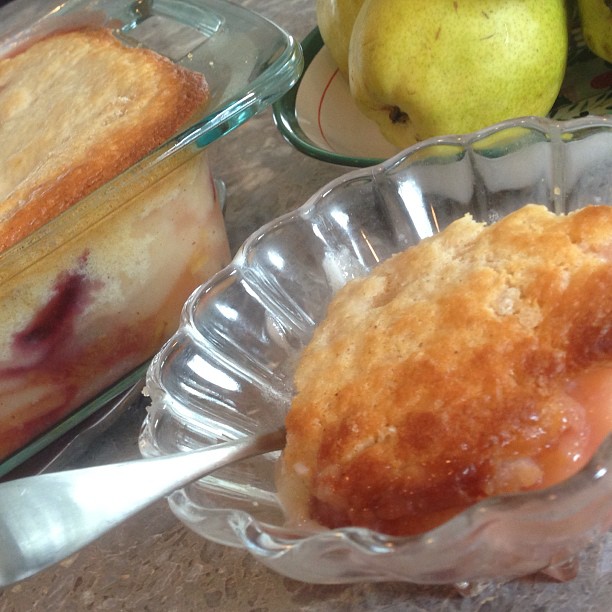
7 cups Pears, peeled and sliced
1/3 cup Brown Sugar, packed
1 Tablespoon Cornstarch
1 Tablespoon Lemon Juice
pinch of Epicure Apple Pie Spice
Biscuit Topping
1 cup Flour
1/4 cup Sugar
1 teaspoon Baking Powder
1/4 teaspoon Baking Soda
pinch of Salt
1/4 Butter, cold and cut into cubes
3/4 cup Buttermilk
Preheat oven to 400F.
Lightly spray an 8″ Square Pyrex dish with vegetable oil spray.
In a large bowl, gently toss pears with brown sugar, cornstarch, lemon juice and Apple Pie Spice.
Turn out into prepared baking dish.
In a medium mixing bowl whisk together flour, sugar, baking powder, baking soda and salt.
Using a pastry blender, or two knives, cut in butter until crumbly.
Pour in buttermilk and stir with fork to form a soft, sticky dough.
Drop dough in 9 evenly spaced mounds over the fruit.
Bake in 400F. for about 35 minutes or until bubbly and topping is light golden and no longer doughy underneath when lifted with spoon.
Serves 6
When Ryan goes to the shops to get a few things to make lunches with, he invariably comes home with way to much bread! He bought two packages of lovely panini rolls because they were on sale…well, we can only eat so much fresh bread between the three of us. The lovely panini rolls were growing older by the day; on Day Three I simply had to rescue the remaining 6 rolls. And not just to the freezer where they would be forgotten and probably thrown out 4 months down the road!
I also had some apples that were becoming less and less eye appealing by the day; the answer to my problems, Apple Bread Pudding but with summer temperatures preventing me from wanting to turn the oven on…haul out the slow cooker. I found this recipe for Slow Cooker Apple Bread pudding with many thanks to Google. However, I didn’t want choc chips in my bread pudding and I skipped the Yogurt Sauce found in the original recipe.
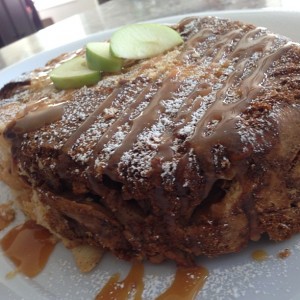
6 cups Crusty Bread, torn into 1/2 inch pieces
1 cup Steamed Apples (peel, core and thinly slice apples; microwave in covered microwave-safe dish for 1Min30Sec.)
1/2 cup Sultanas
1/2 cup Pecans, chopped
4 large Eggs, lightly beaten
3/4 cup Milk
1 can Sweetened Condensed Milk
1 1/2 teaspoons ground Cinnamon
1/2 teaspoon ground Ginger
1/2 teaspoon ground Nutmeg
1/4 teaspoon ground Cloves
Coat slow cooker insert with butter or margarine.
Add 1/2 the cubed bread; spread with half of: the steamed apples, sultanas, chopped pecans
Add remaining bread, top with remaining steamed apples, sultanas and chopped pecans.
In a medium bowl combine eggs, milk, condensed milk, and spices; pour over bread, fruit and nuts, pressing down with a spoon to completely moisten all the bread.
Cover and cook on LOW setting for 3 – 4 hours, or until knife inserted in the centre comes out clean.
Start checking the bread pudding after three hours and check every 15 minutes afterwards until cooked through.
Serve with fresh whipped cream or ice cream.
Serves 8
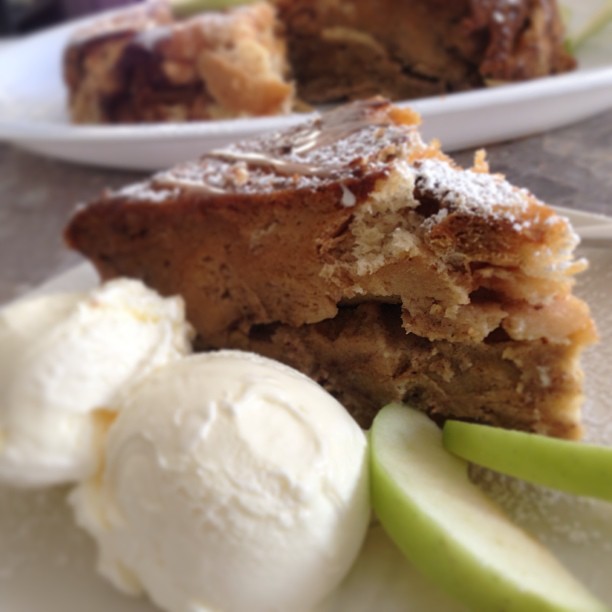
FYI – This is sort of like having French Toast for breakfast right? I put the leftovers in the freezer and pulled out a serving out each day for a week for my instant breakfast!