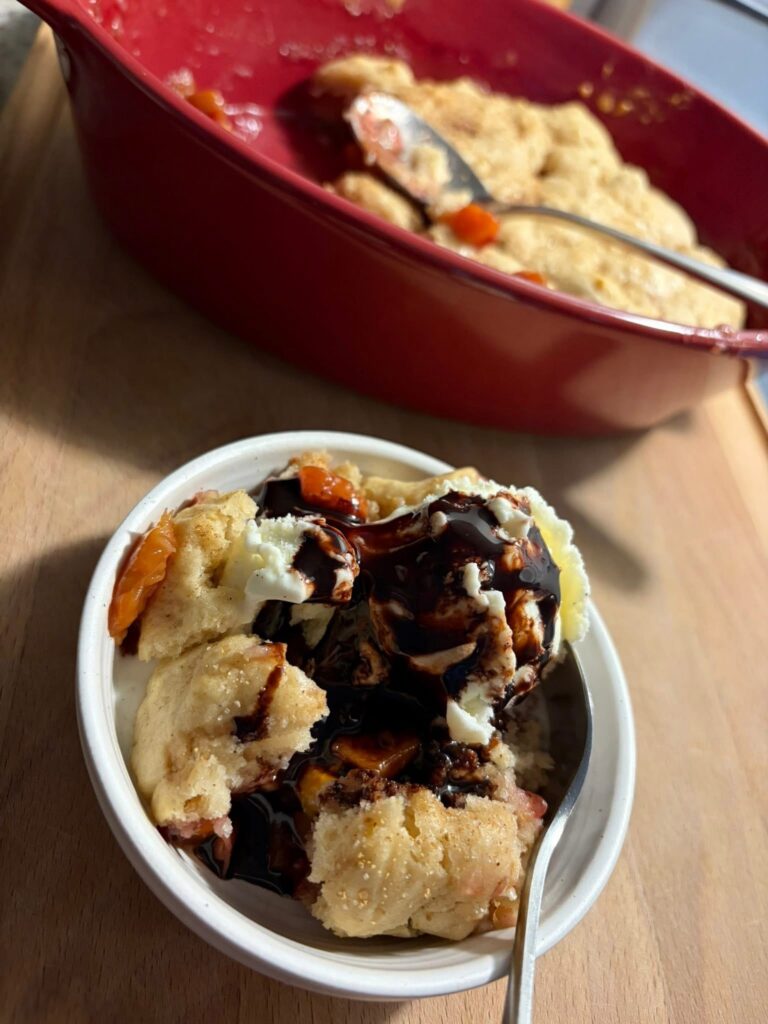
Had some fresh peaches to use up; pan fried three coarsely chopped peaches along with one diced apple in a bit of butter, a tablespoon of butter, a pinch each of cinnamon and nutmeg and a splash of vanilla. We spread the cooked fruit into a casserole dish coated with butter.
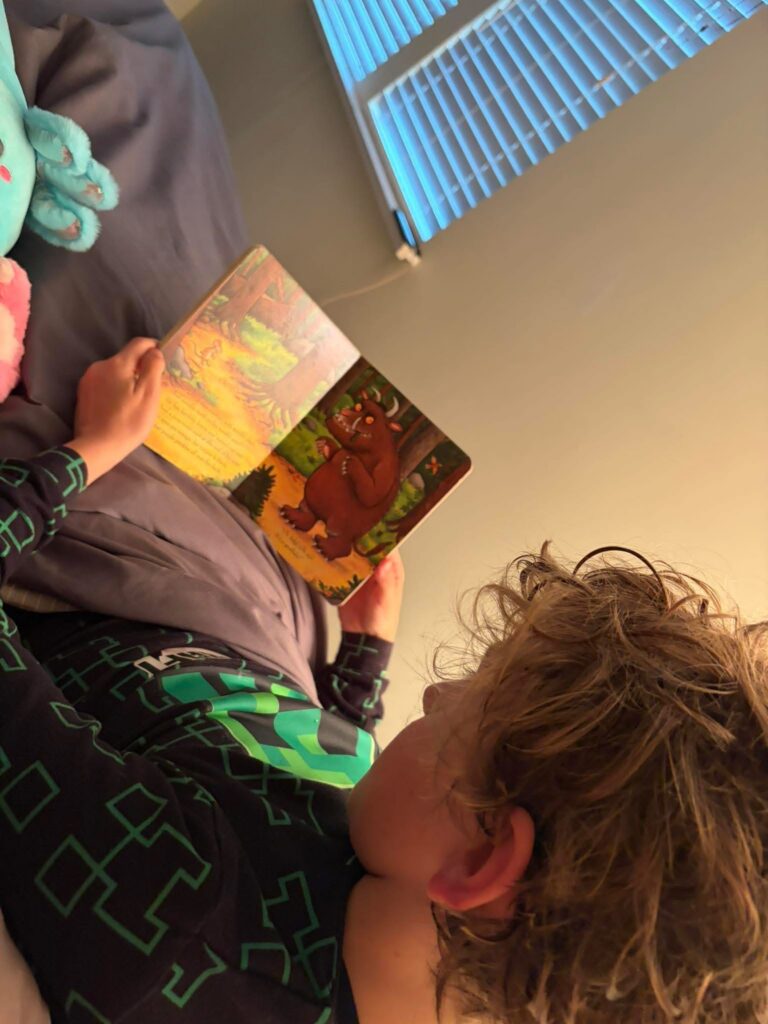
Then Alex and I proceeded to make Gruffalo Crumble!
Into the food processor we put: 1 cup Flour 1 Tbsp Brown Sugar 1 1/2 teaspoons Baking Powder Pinch of Salt Wizzed that for a second or two then added: 1.5 ounces cold Butter, in small chunks. Gave that a quick wiz just to break down butter and coat them with the flour mixture. Next we added 1/2 c Milk Wizzed just until all the milk was incorporated.
We put dollops of dough on top of the cooked fruit.
Baked the Gruffalo Crumble at 400F in the AirFyer on the Bake function. Timer was set for 12 minutes, then casserole dish was rotated and baked for another 12 minutes until baked through.
We let it cool for a while before serving with Vanilla Ice Cream
The Gruffalo was a much loved book when the boys were little.
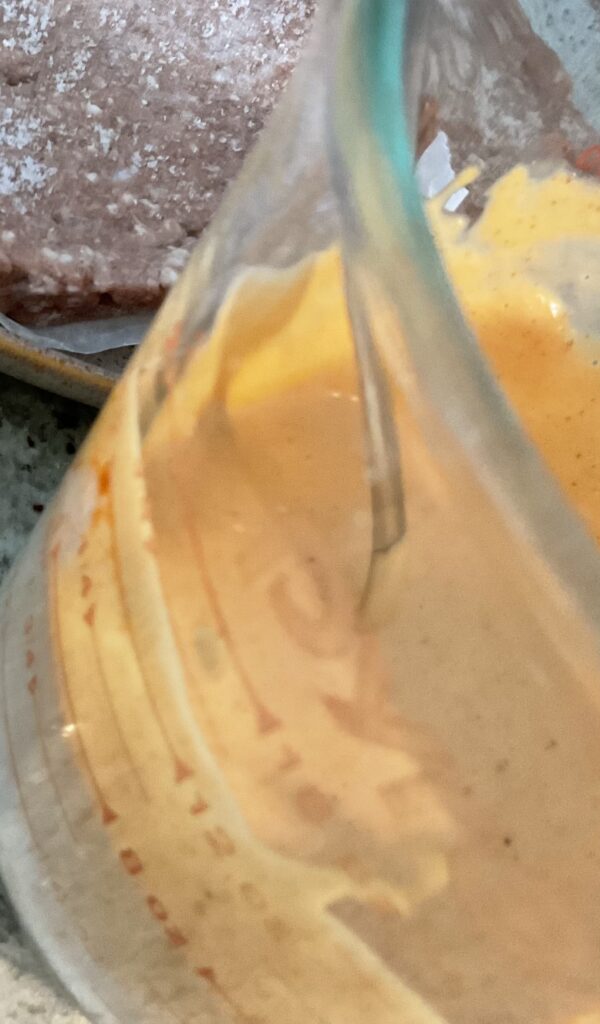
1/2 cup Mayo 2 Tbsp Ketchup 1 tsp Horseradish – a bit of minced ginger will do in a pinch 1 tsp Worcestershire Sauce – I use a Vegan product Sriracha, to taste 1/2 tsp Smoke Paprika Half of Shallot, minced or grated ( can sub in minced Garlic) Season with Salt.
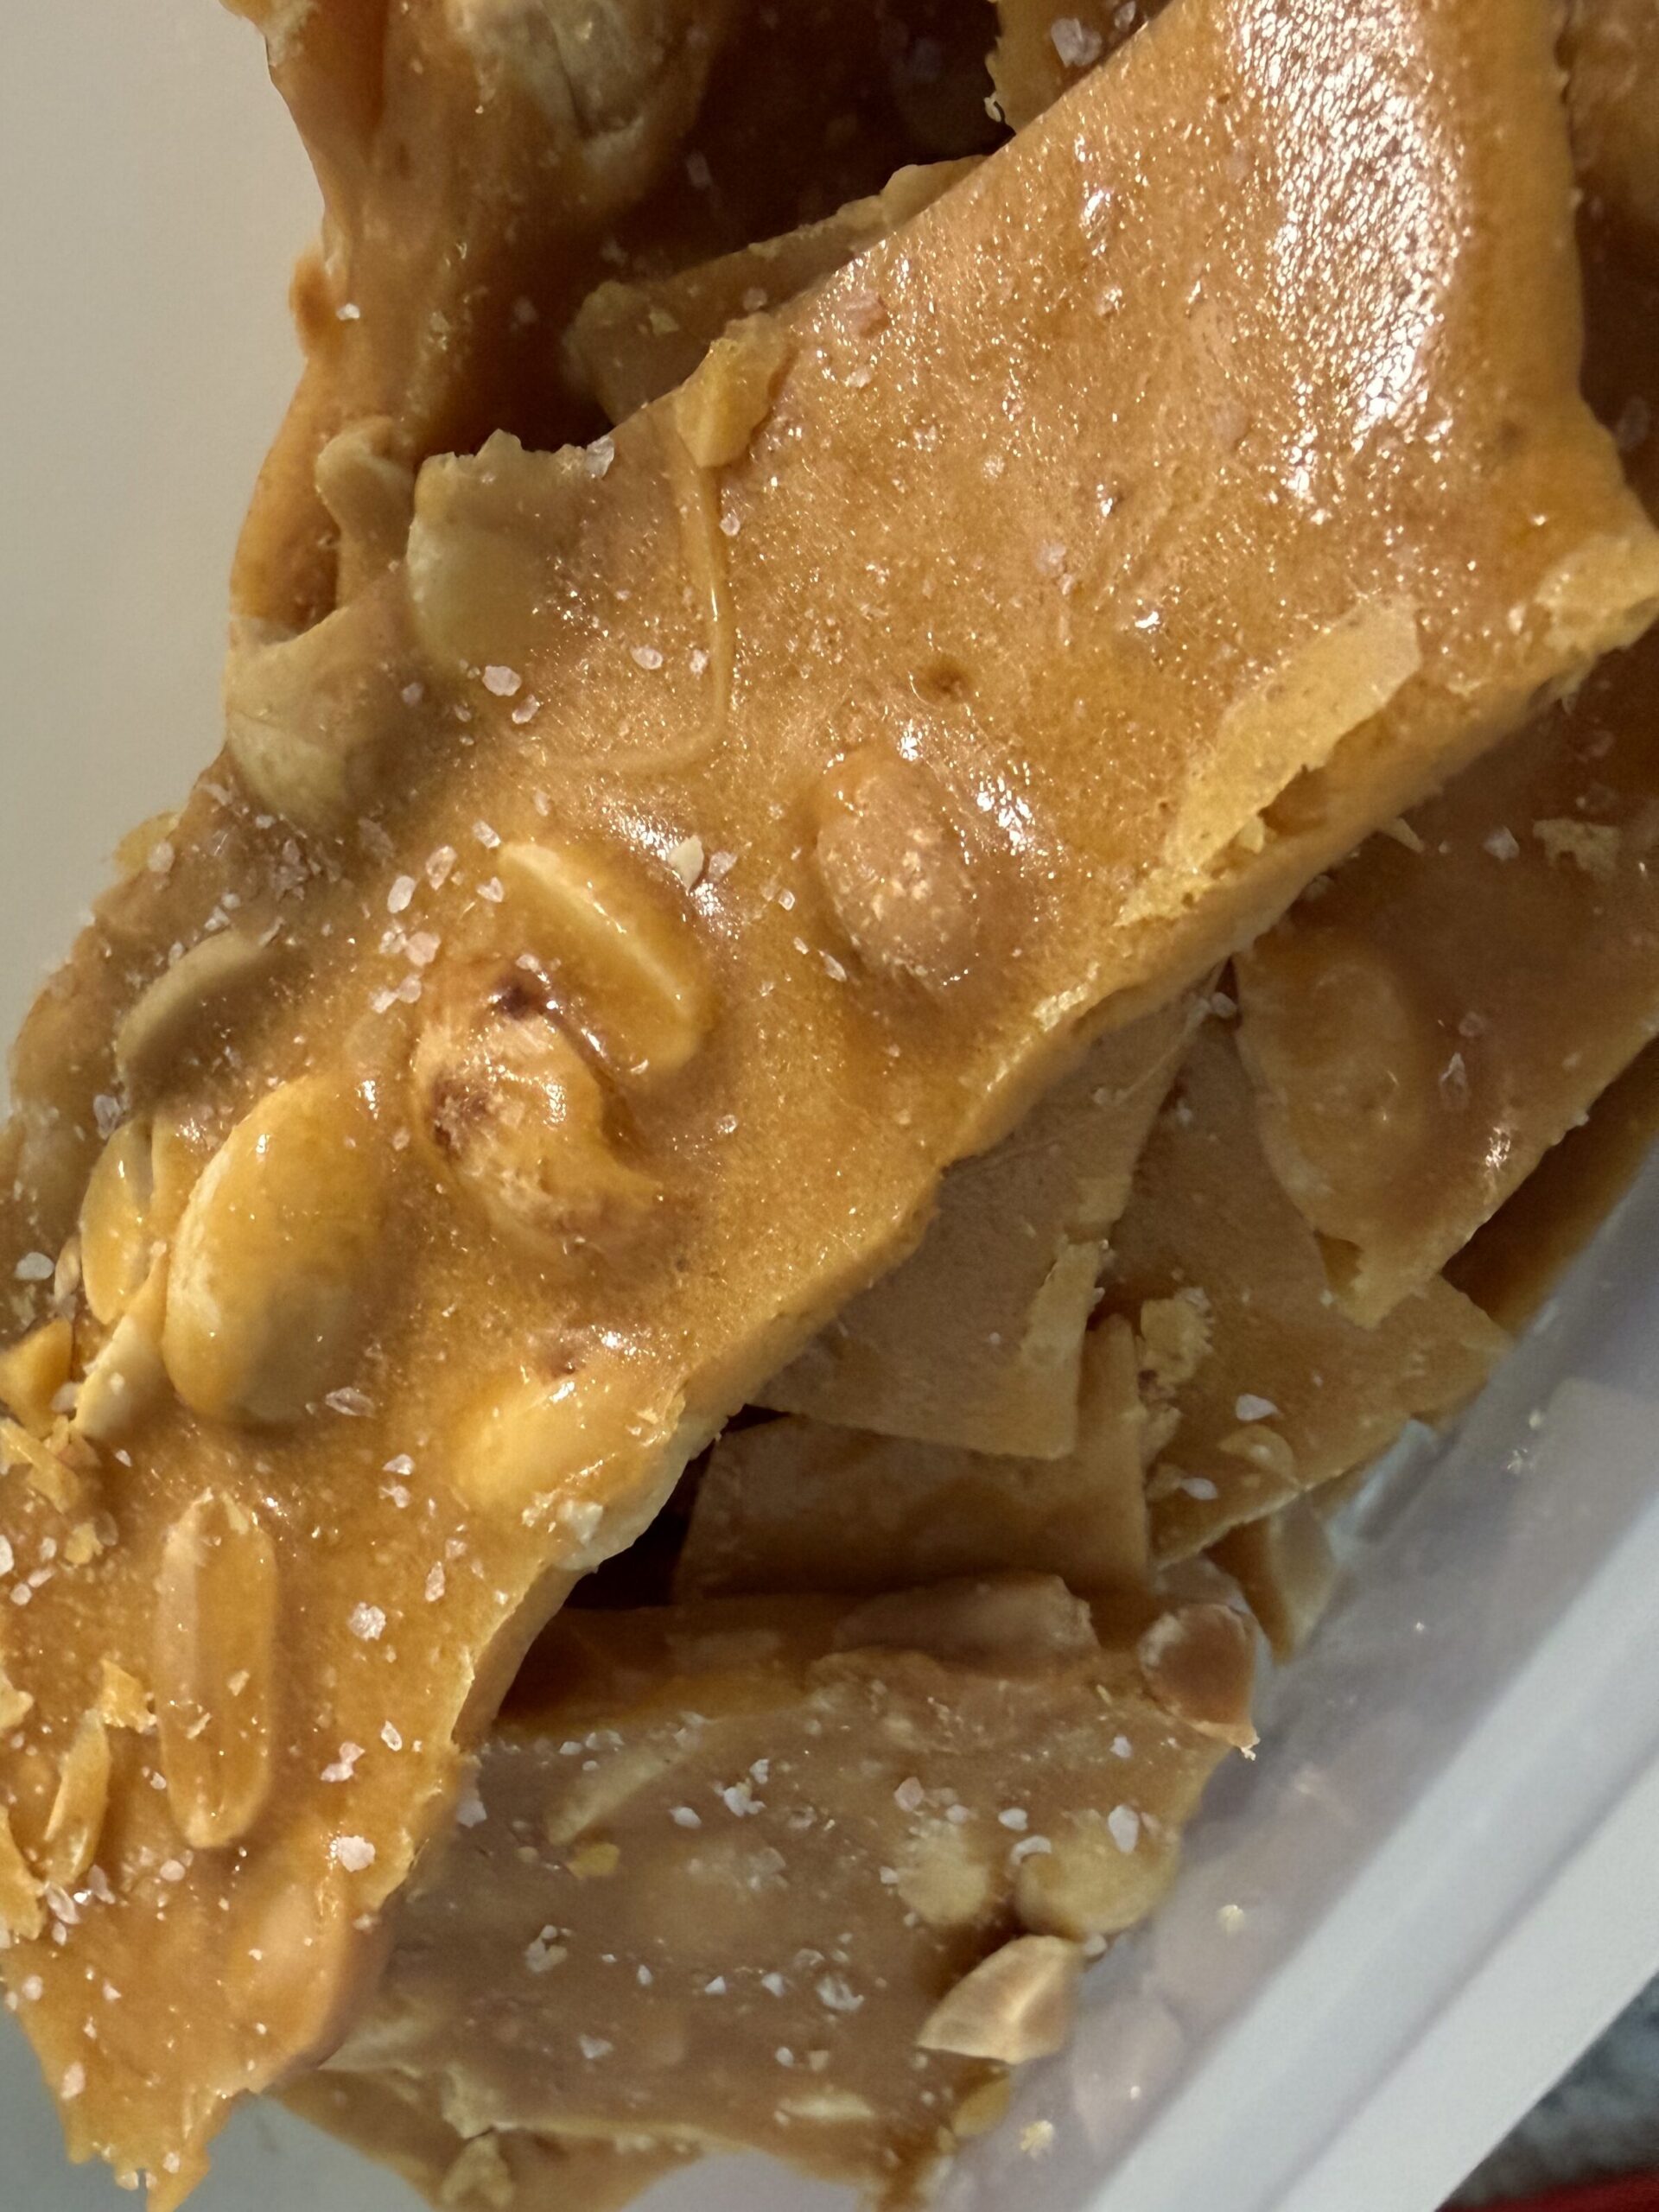
1 1/2 tsp Baking Soda 1 tsp Water 1 tsp Vanilla 1 1/2 cups Sugar 1 cup Water 1 cup Light Corn Syrup 1 1/2 oz Butter 1 lb Shelled Peanuts
Lightly butter to baking trays; set aside
Mix baking soda, water and vanilla in small bowl; set aside Mix sugar, 1 cup water and the corn syrup in a medium size, heavy bottomed, saucepan. Cook over medium heat, stirring occasionally, to 240F on a Candy Thermometer Stir in butter and peanuts. Cook, stirring constantly, to 300F . Watch carefully so mixture does not burn. Immediately remove from heat. Quickly stir in the baking soda mixture until light and foamy. Divided the candy mixture evenly between the two prepared baking trays. Cool completely, at least an hour. Break into pieces. Store in an airtight container.
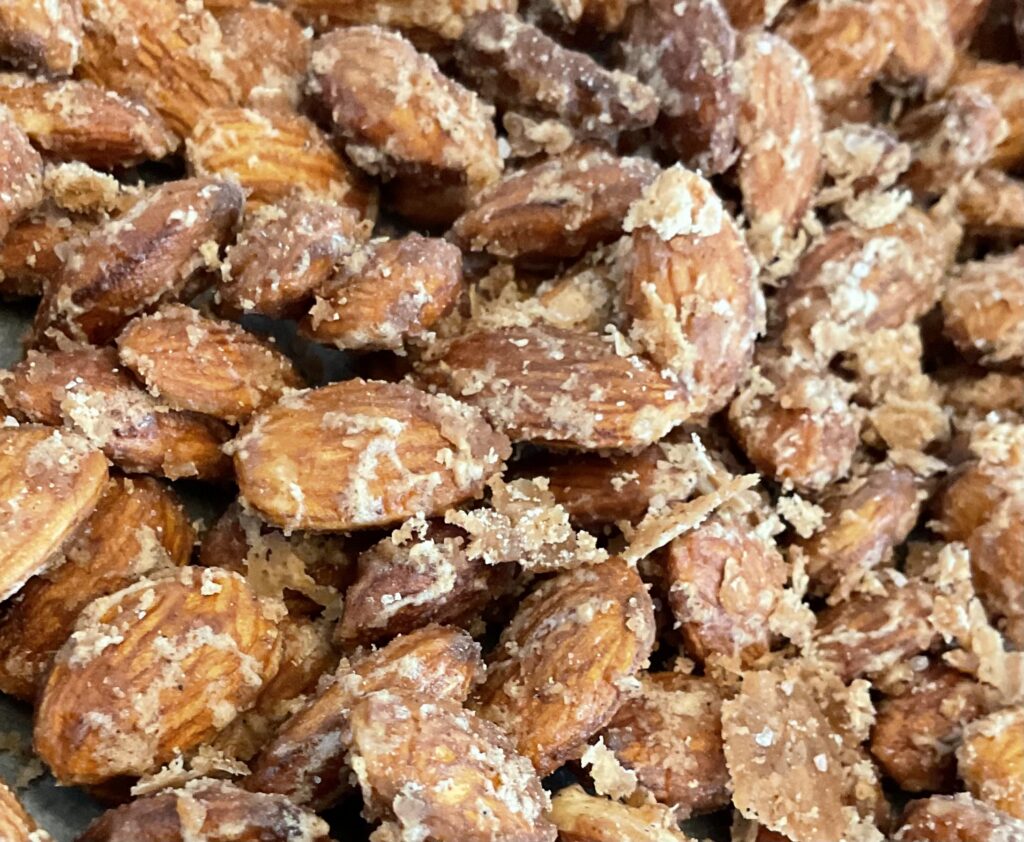
Candied Almonds Butter, to coat parchment paper 1/2 cup Granulated Sugar 1/4 cup Water 1 tsp Vanilla 2 tsp Cinnamon 2 cups Whole Almonds
Line a baking tray with parchment paper; grease parchment paper with butter. In skillet combine sugar, water, vanilla, and cinnamon. Bring to a boil over medium heat Add the almonds. Cook and stir the mixture until the water has evaporated. It will change from a liquid to a syrup, to angel hair, to crystallization onto the almonds. Do not stop stirring! Remove from heat once the crystallization has occured. Turn out onto prepared baking tray. Spread out evenly on tray, in a single layer and allow to cool.
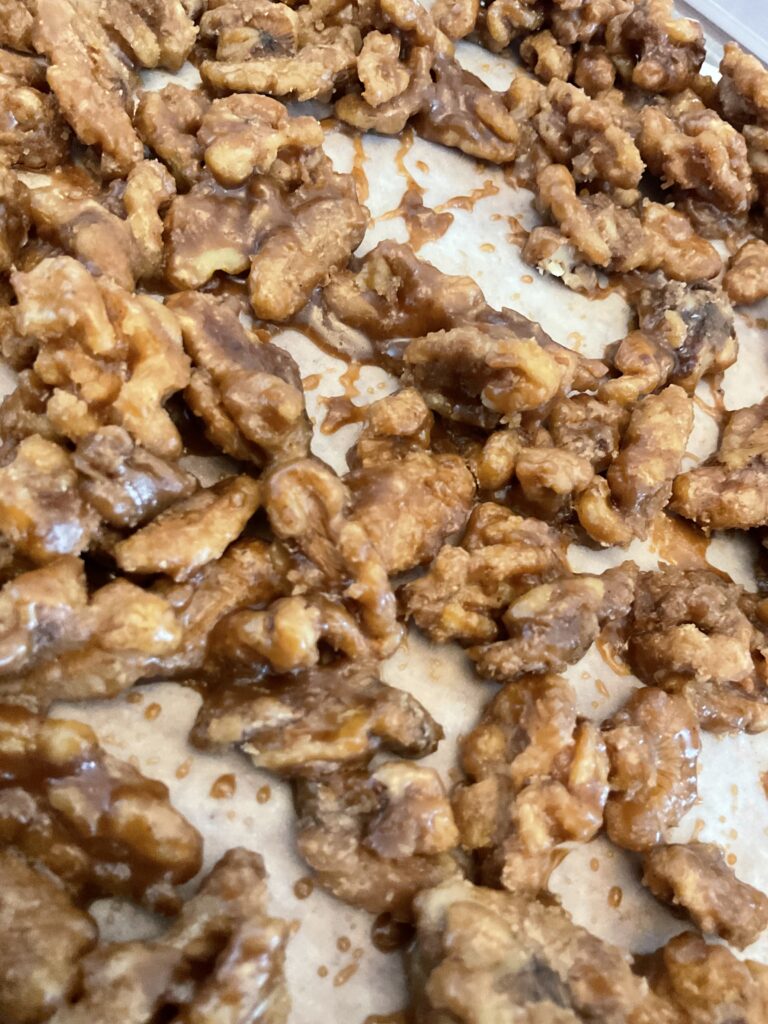
Heat medium skillet over medium heat. Add walnuts, butter and brown sugar; allow to melt, stirring with a spatula constantly to coat the walnuts. One the walnuts are coated and the butter and sugar are fully melted, turn off the heat. Turn walnuts out onto parchment paper in a single layer, separating the walnuts to make sure they don’t all clump together as they cool and dry. Once fully cool, store in an airtight container.
Welcome to my Kitchen where the most important ingredient is Love.