Another Hayley and Michael fave! Gotta admit, I love ’em too!
Copy Cat Lofthouse Cookies
1/2 c (1 c) Butter, softened
1/2 c (1c) Sour Cream
12 oz (6 oz) Granulated Sugar
[1 3/4 c is 12 oz , I just don’t like messing around halving it, 6 oz is easier)
1 (2) Eggs
1 (2) teaspoons Vanilla
1/4 (1/2) teaspoon Almond extract
3 c (6 c) Flour
3/4 (1 1/2) teaspoons Baking Powder
1/2 (1 ) teaspoon Baking Soda
1/4 (1/2) teaspoon Salt
Frosting
1/2c (1c) Butter
1/2 (1) teaspoon Vanilla
2c (4c) Powdered Sugar
2 1/2 Tbsp (5 TBSP) Milk
Food Colouring and Sprinkles, if desired
Instructions
Preheat oven to 400F.
Line baking trays with parchment paper, set aside.
In a medium mixing bowl combine dry ingredients: flour, baking powder, baking soda, salt; set aside.
In stand mixer fitted with the paddle attachment or in a large bowl using a hand mixer, cream together the butter and sour cream until smooth and light in colour.
Add in the sugar, egg(s), vanilla and almond extract. Mix until just combined.
Add the dry ingredients to the wet ingredients, stirring well after each addition.
To form drop cookies: using damp hands, roll dough into 2″ balls and place 2″ apart on the prepared cookie sheet. Using a flat-bottomed glass dipped in sugar, press the cookie balls flat.
If preferred, you can roll out the dough after chilling the dough for 30 minutes.. Roll dough out on a lightly floured surface until 1/4″ thick. Using a biscuit cutter, cut cookies and place 2″ apart on the prepared cookie sheets.
Bake cookies in preheated 400F oven for 5 -7 minutes, The rolled cookies will take a lil longer, 8 – 10 minutes, baking just until the cookies being to set up and the bottoms are lightly brown. Immediately remove from cookie sheet and let cool completely on a cooling rack before frosting.
Frosting
In stand mixer fitted with paddle attachment or in a large mixing bowl, using a hand mixer, cream together the butter and extract until smooth.
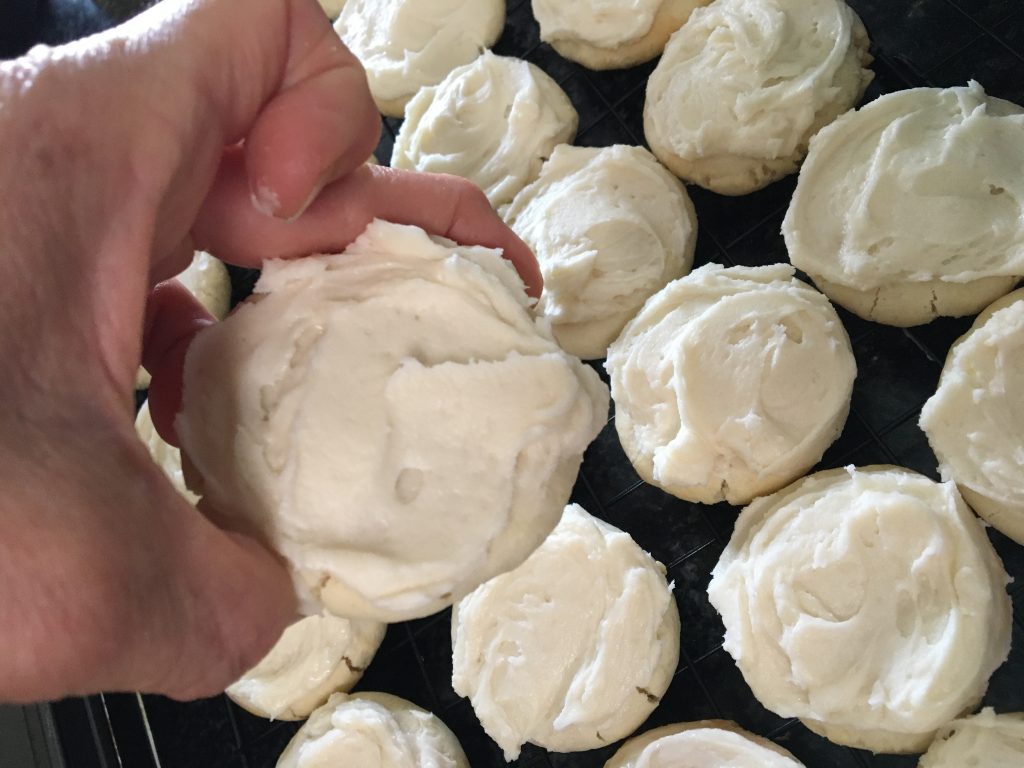
Add in the powdered sugar, 1 cup at a time, mixing until smooth after each addition. Add in the milk and food colouring, and beat until fluffy and smooth. Spread onto cooled cookies and immediately sprinkle on the sprinkles, if using.
Just a note: Watch them carefully when they are baking! The minute you see them turning golden brown on the bottom, remove them from the oven and let sit for 5 – 10minutes before transferring to a wire rack to cool completely.
Copy Cat Lofthouse Sugar Cookies!