While in the Fraser Valley I gave away some Sourdough Starter so I thought I would share with you how I use my Starter.
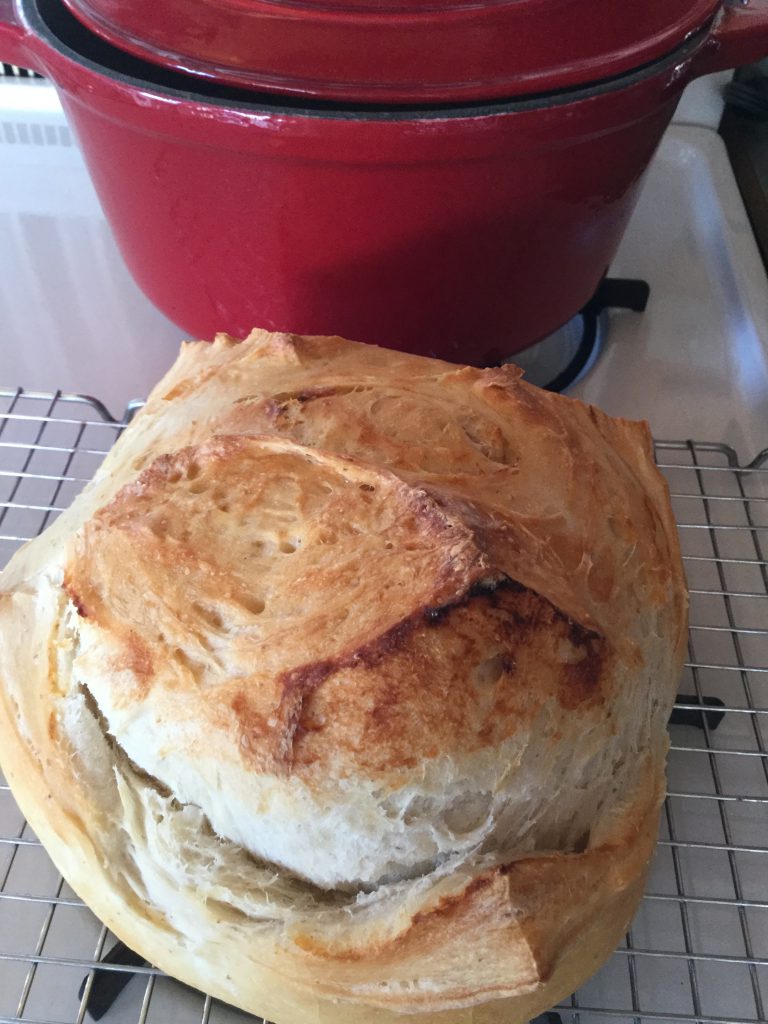
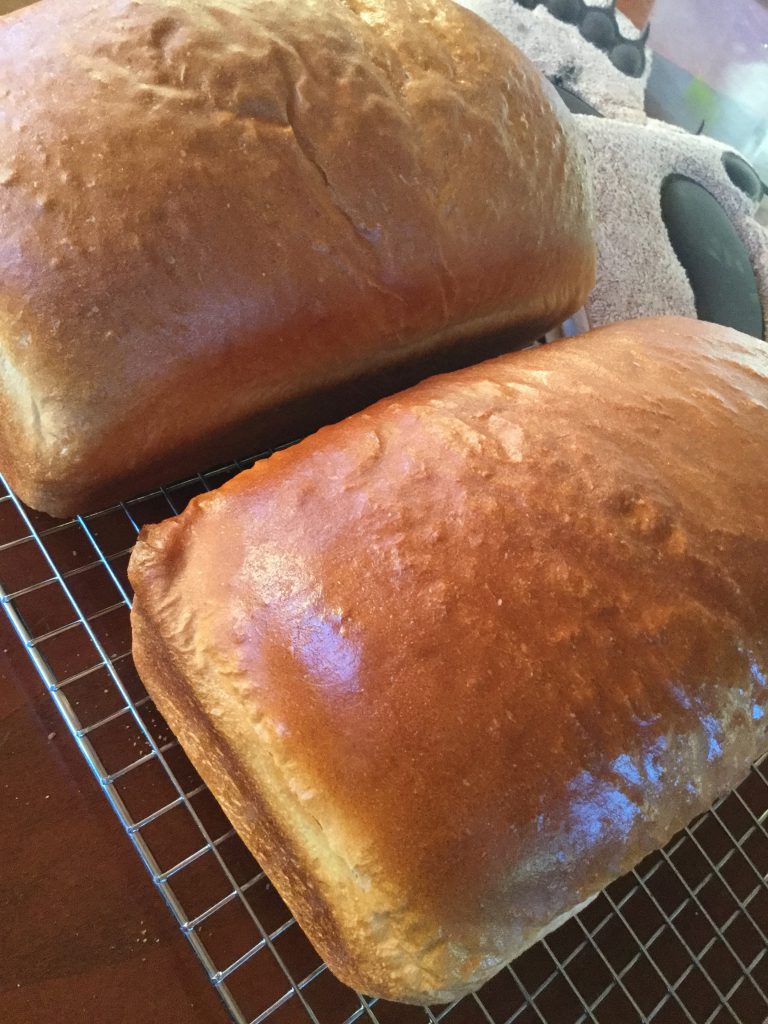
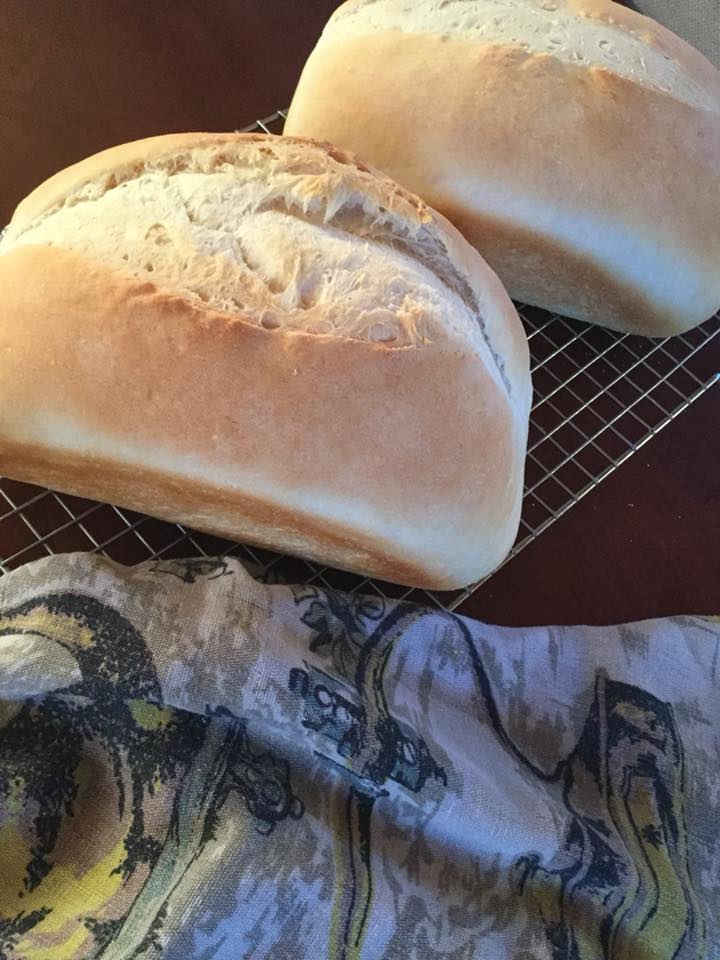
I tend to use a Sourdough Hybrid recipe which requires a bit of yeast because I live at higher elevations and it is pretty dang cold up there sometimes too! I love the look of the Cobb Sourdough Bread, love it’s crispy exterior but I find that when I split the dough and make two loaves I can make heaps more sammies with the same amount of dough. Right?
Then again, I often make up the Sourdough, cook off half of it as a loaf and the second half I make into Pizza! hmmmmmPizza! Sourdough Pizza Crust is the bomb!
I make Sourdough Pancakes too. I am still experimenting with that; the recipes I have used so far come out a little too flimsy and flat for my liking. Or am I just spoiled by my yummy, fluffy, oh so good but not so good for you Pancakes? So now I am drooling on my keyboard…
There are so many things you can do with Sourdough Starter and I have only just barely scraped the top of the iceberg! Sourdough is supposed to be good for you too; ah, yea! Bread that is good for me? Sign me up! You can read about it here
https://iquitsugar.com/why-sourdough-bread-good-for-you/
I will give you the recipes and processes I use. I would love to know how your Sourdough Bread journey goes!
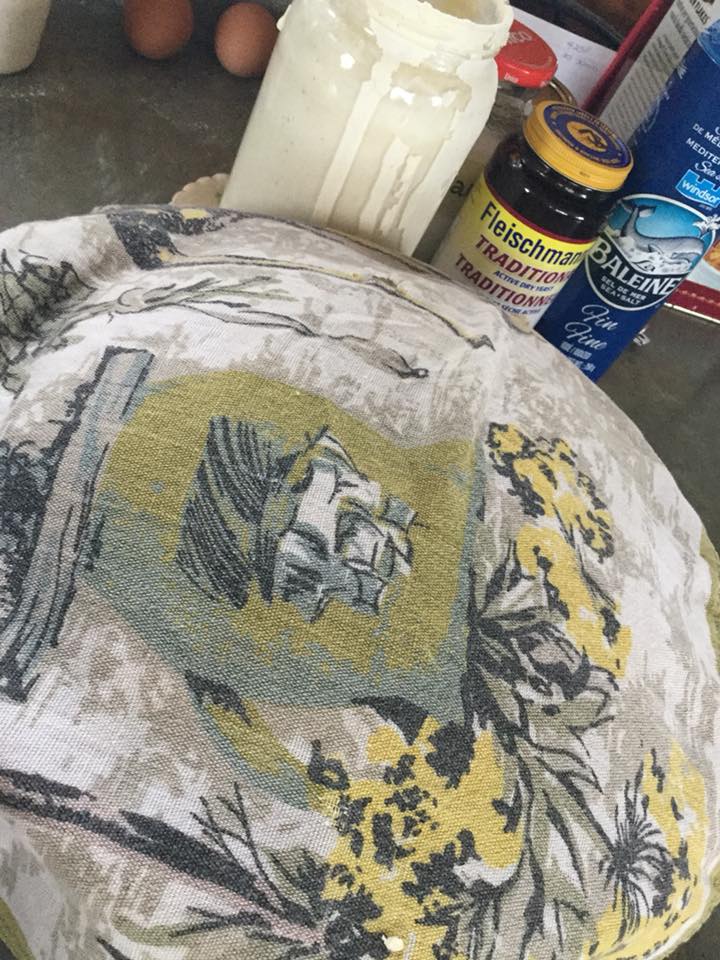
If I gave you a bit of Brittany Blue, please do try to take care of her. You need to feed her now and again. She does prefer to get used in yummy baking, so use her often!
Brittany Blue
4 liquid ounces Water
4 weighed ounces Flour
When I make bread I use 1 cup of starter so I pour some Brittany Blue out then add the water and flour, stir well to combine and put her back in her spot on the counter.
Let’s talk about where the starter lives:
I keep Brittany Blue on the counter because, frankly, my kitchen is often quite cool. In the Summer when temps tend to be a lil warmer I put Brittany Blue out in the Cold Room where she seems to do quite well.
I do use Brittany Blue once a week so I tend to feed her the day before I want to use her, two or three days later and then once more the day before I use her to make more bread.
I don’t always use the 8 fluid ounces of starter that I remove; sometimes I just chuck it in the compost.
The two recipes I always use:
This one I make into two loaves or a loaf and a pizza crust
https://www.kingarthurflour.com/recipes/rustic-sourdough-bread-recipe

This is the recipe I use to make a cobb of Sourdough Bread and it is damn delicious! No to ways about it! And the sound of that crackle when it comes outta the oven? Devine!
http://www.katie180.com.au/recipes/how-to-make-sourdough-step-by-step/